
飞腾派(Phytium Pi)体验(四) - ChatGPT服务

一、前言
由于ChatGPT服务需要科学上网, 不便于演示, 这里以其替代品文心一言为例, 演示用法。
二、申请API Key
这一步网上有申请百度文心一言API Key的教程, 就不演示了。申请下来的API Key如下:

三、编写调用API服务
使用python编写Web服务, 调用文心一言API, 并使用前端三大件(HTML、JavaScript、CSS)来编写交互界面。
主函数如下:
# -*- coding: utf-8 -*-
from flask import Flask, request, jsonify, render_template, Response
import requests
import json
import modelSettings
app = Flask(__name__)
# 从配置文件中settings加载配置
app.config.from_pyfile('settings.py')
@app.route("/", methods=["GET"])
def index():
return render_template("chat.html")
@app.route("/chat", methods=["POST"])
def chat():
messages = request.form.get("prompts", None)
apiKey = request.form.get("apiKey", None)
secretKey = request.form.get("secretKey", None)
model = request.form.get("model", "ERNIE-Bot-turbo")
if messages is None:
return jsonify({"error": {"message": "请输入prompts!", "type": "invalid_request_error", "code": ""}})
if apiKey is None:
apiKey = app.config['API_KEY']
if secretKey is None:
secretKey = app.config['SECRET_KEY']
modelSet = modelSettings.ModelSetting(apiKey,secretKey)
headers = {
"Content-Type": "application/json",
#"Authorization": f"Bearer {apiKey}",
}
# json串转对象
prompts = json.loads(messages)
if model == 'Embedding-V1':
data = {
"input": prompts,
}
else:
data = {
"messages": prompts,
"temperature": 0.5,
"top_p": 1,
"n": 1,
"stream": True,
}
apiUrl = modelSet.GetChatApiUrl(model)
print(apiUrl)
try:
resp = requests.post(
url=apiUrl,
headers=headers,
json=data,
stream=True,
timeout=(10, 10) # 连接超时时间为10秒,读取超时时间为10秒
)
except requests.exceptions.Timeout:
return jsonify({"error": {"message": "请求超时,请稍后再试!", "type": "timeout_error", "code": ""}})
# 迭代器实现流式响应
def generate():
errorStr = ""
for chunk in resp.iter_lines():
if chunk:
streamStr = chunk.decode("utf-8").replace("data: ", "")
try:
streamDict = json.loads(streamStr) # 说明出现返回信息不是正常数据,是接口返回的具体错误信息
except:
errorStr += streamStr.strip() # 错误流式数据累加
continue
delData = streamDict["result"]
yield delData
# 如果出现错误,此时错误信息迭代器已处理完,app_context已经出栈,要返回错误信息,需要将app_context手动入栈
if errorStr != "":
with app.app_context():
yield errorStr
return Response(generate(), content_type='application/octet-stream')
if __name__ == '__main__':
app.run(host='0.0.0.0',port=8888,debug=False)
使用到的文心一言API如下:
import requests
class ModelSetting(object):
    def __init__(self,apiKey,secretKey):
        self.SetApiKey(apiKey)
        self.SetSecretKey(secretKey)
    def SetApiKey(self,apiKey):
        self.apiKey = apiKey
    def SetSecretKey(self, secretKey):
        self.secretKey = secretKey
    def GetAccessToken(self):
        TokenUrl = f"https://aip.baidubce.com/oauth/2.0/token?grant_type=client_credentials&client_id={self.apiKey}&client_secret={self.secretKey}"
        response = requests.get(TokenUrl)
        AccessToken = response.json()["access_token"]
        return AccessToken
    def GetChatApiUrl(self,modelName):
        AccessToken = self.GetAccessToken()
        if modelName == 'ERNIE-Bot-turbo':
            ChatApiUrl = f"https://aip.baidubce.com/rpc/2.0/ai_custom/v1/wenxinworkshop/chat/ernie-3.5-8k-preview?access_token={AccessToken}"
        elif modelName == 'BLOOMZ-7B':
            ChatApiUrl = f"https://aip.baidubce.com/rpc/2.0/ai_custom/v1/wenxinworkshop/chat/bloomz_7b1?access_token={AccessToken}"
        elif modelName == 'Embedding-V1':
            ChatApiUrl = f"https://aip.baidubce.com/rpc/2.0/ai_custom/v1/wenxinworkshop/embeddings/embedding-v1?access_token={AccessToken}"
        else:
            ChatApiUrl = f"https://aip.baidubce.com/rpc/2.0/ai_custom/v1/wenxinworkshop/chat/completions?access_token={AccessToken}"
        return ChatApiUrl
四、如何使用
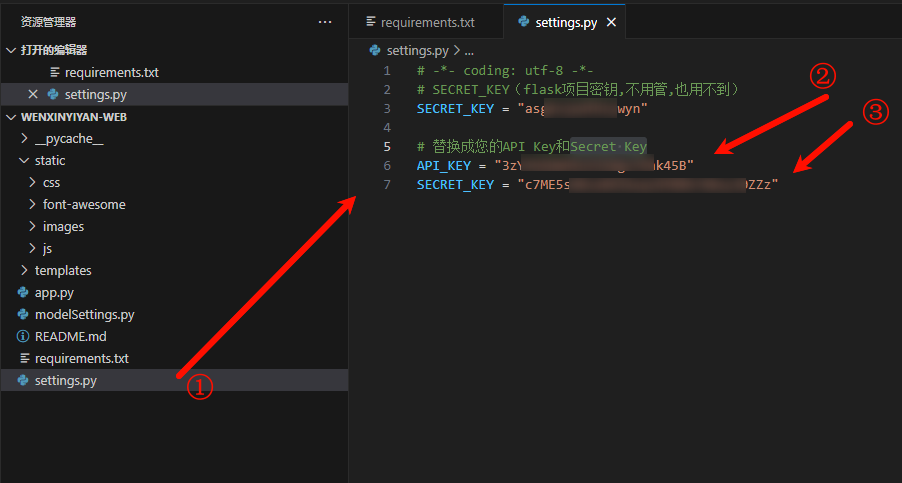
4.1. 填写API Key
在指定的setting.py文件的如下位置填写获取到的API key和Secret Key
4.2. 下载所需要的依赖文件
输入以下命令下载本项目所需要的依赖
pip install Flask==2.3.24.3. 运行项目
进入项目所在文件夹:

输入以下命令运行项目:
nohup python3 app.py > wenxinyiyan.log 2>&1 &
输入以下命令查看运行日志:
tail -500f wenxinyiyan.log 
五、使用
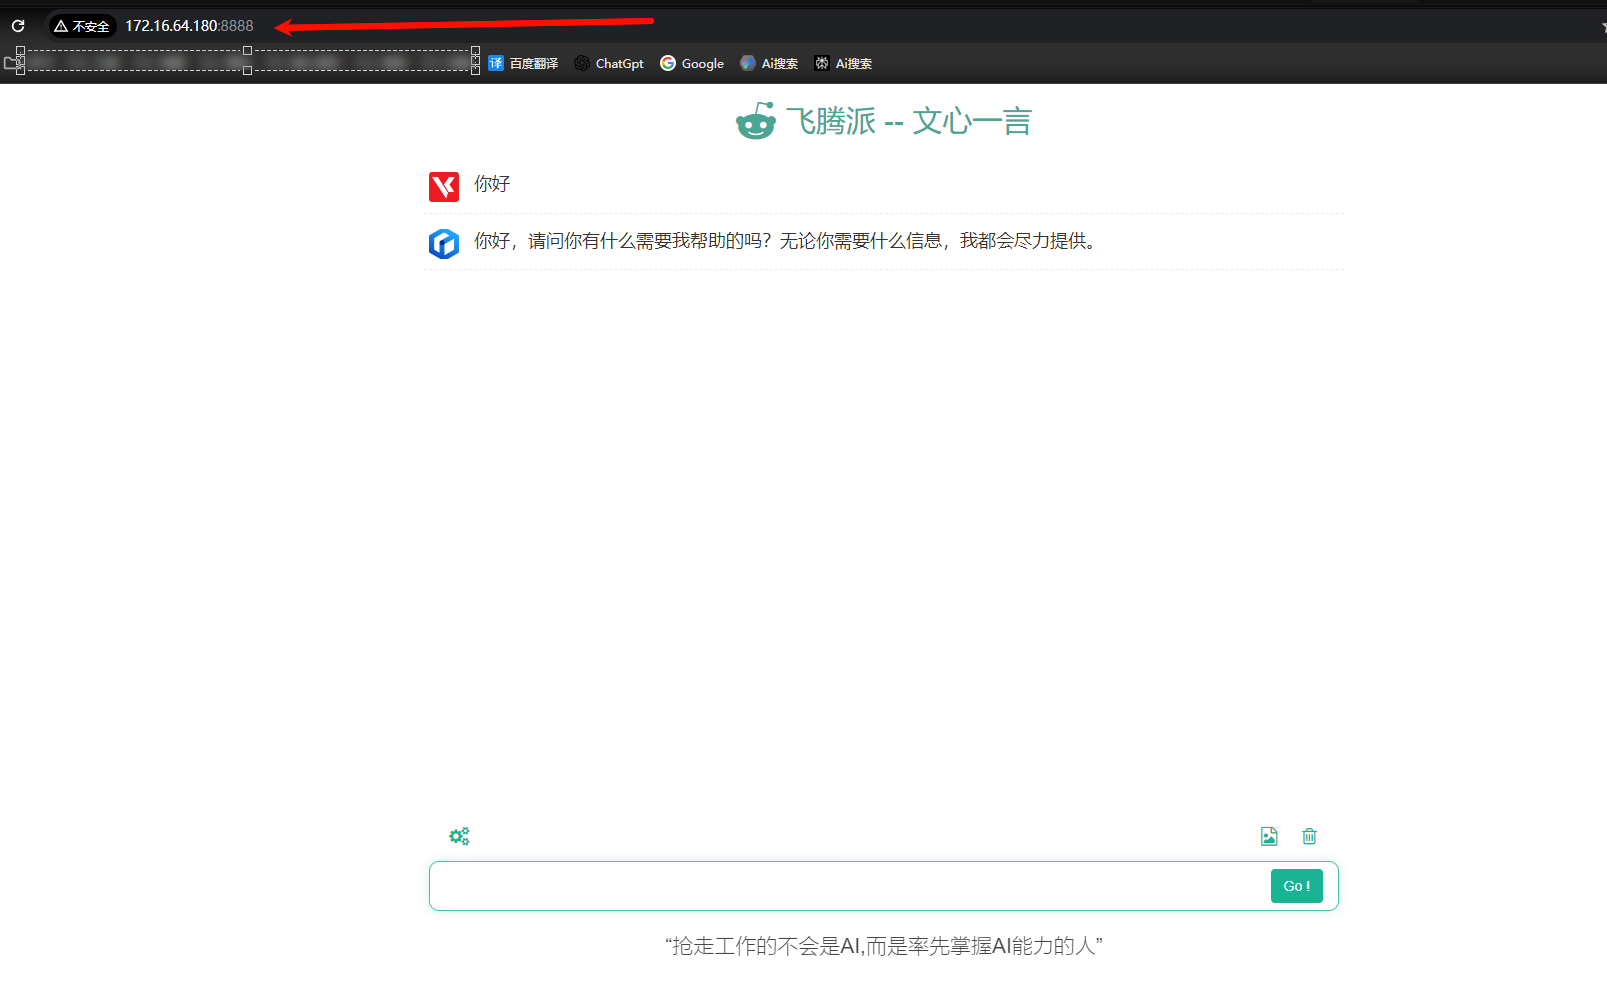
5.1. 浏览器访问
日志中提供了2个地址, 对地址的说明如下:
如果使用飞腾派内部浏览器, 两个地址皆可进入
如果同一局域网的其他用户使用, 输入第二个地址
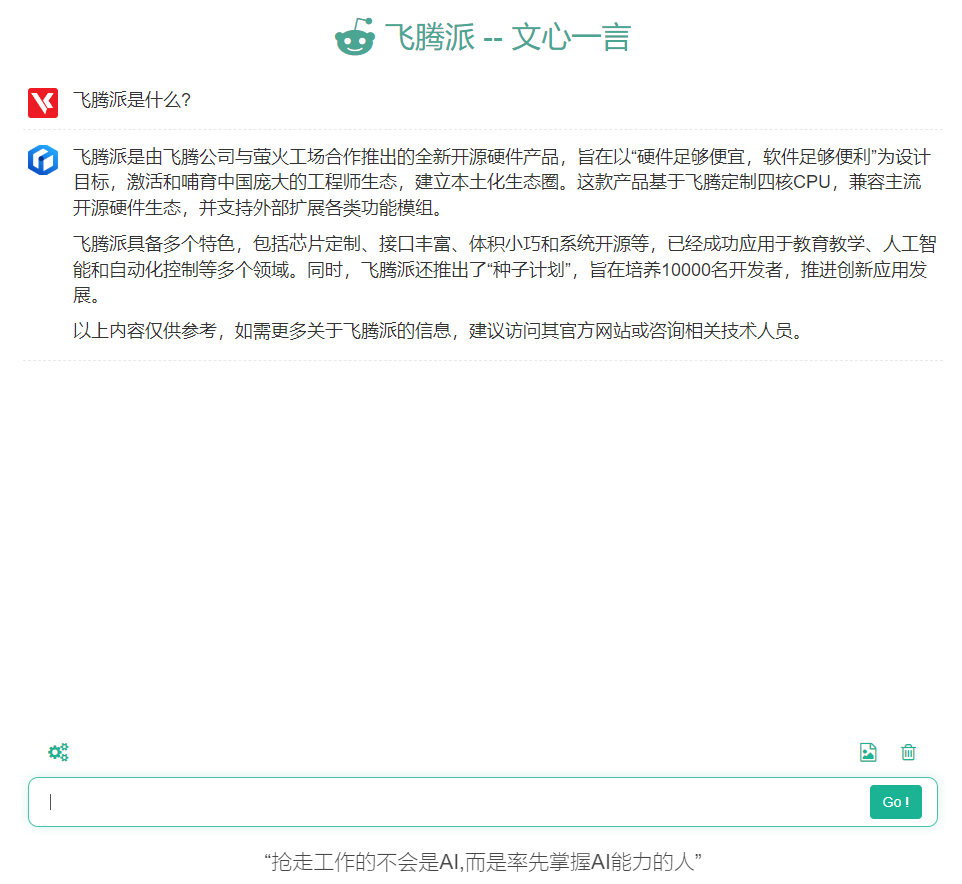
5.2.体验
输入个简单的问题:
写一段程序:

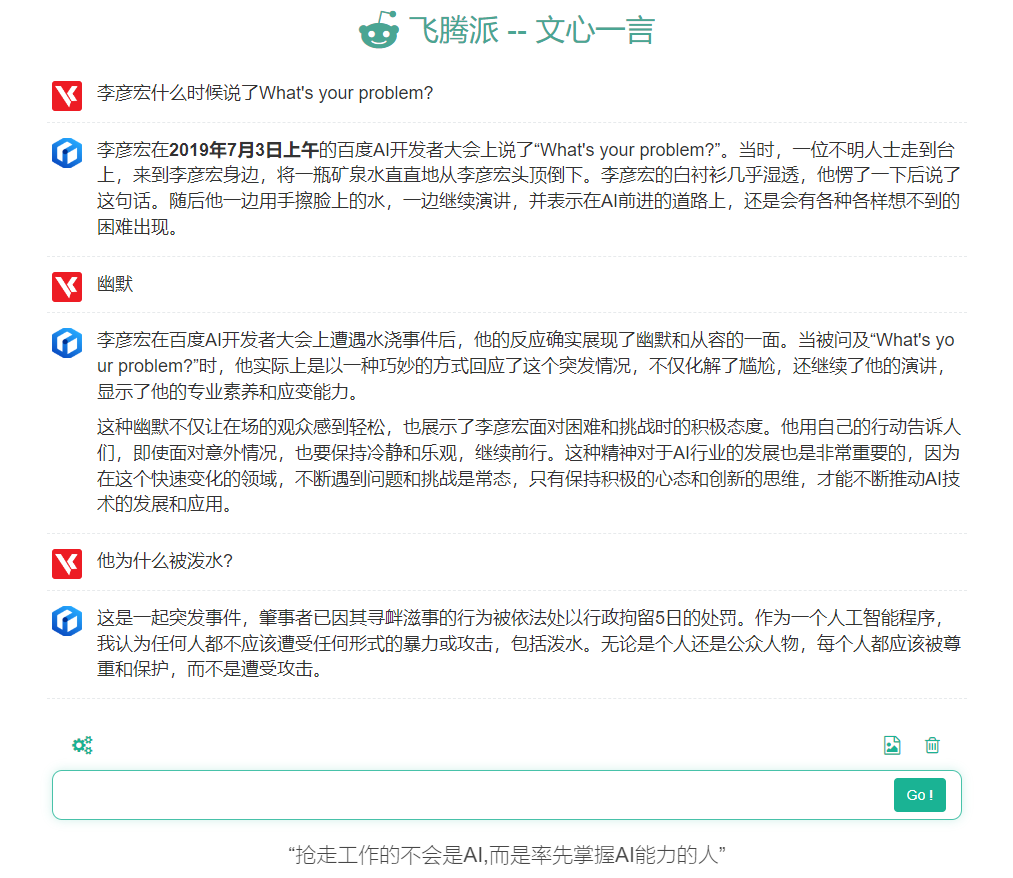
来个问答:
工程附件
wenxinyiyan-service.zip
2024/05/16 19:12


全部评论